Introduction to Web APIs using JavaScript
In this tutorial, we will explore the basics of programming with JavaScript focusing on Web APIs. Web APIs (Application Programming Interfaces) provide a way for different software applications to communicate with each other. They allow us to access and manipulate data from various sources on the internet, such as retrieving data from a server, interacting with databases, or accessing external services like weather information or maps.

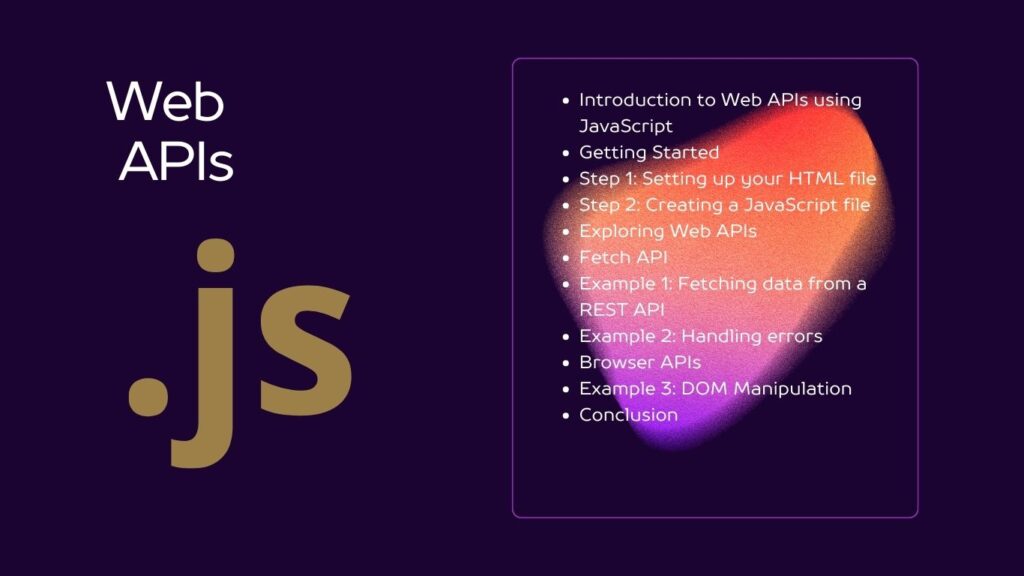
Table of Contents
Getting Started
Step 1: Setting up your HTML file
First, create an HTML file named index.html and open it in your code editor. Add the following code to create a basic HTML structure:
<!DOCTYPE html>
<html lang="en">
<head>
    <meta charset="UTF-8">
    <meta name="viewport" content="width=device-width, initial-scale=1.0">
    <title>Web APIs Tutorial</title>
</head>
<body>
    <h1>Web APIs Tutorial</h1>
    <script src="script.js"></script>
</body>
</html>
Step 2: Creating a JavaScript file
Next, create a JavaScript file named script.js in the same directory as your HTML file.
Exploring Web APIs
Fetch API
The Fetch API provides a way to make network requests asynchronously. It is built into modern web browsers and allows us to fetch resources (like JSON, HTML, or images) from a server.
Example 1: Fetching data from a REST API
Let’s start with a simple example of fetching data from a REST API. We’ll use the JSONPlaceholder API, which provides fake JSON data for testing and prototyping.
Add the following code to your script.js file:
// Define the URL of the API endpoint
const apiUrl = 'https://jsonplaceholder.typicode.com/posts/1';

// Fetch data from the API
fetch(apiUrl)
    .then(response => response.json())
    .then(data => {
        console.log('Fetched data:', data);
    })
    .catch(error => {
        console.error('Error fetching data:', error);
    });
Explanation:
- We define the URL of the API endpoint we want to fetch data from.
- We use the
fetch()function to make a GET request to the specified URL. - We chain
.then()to handle the response asynchronously. The first.then()converts the response to JSON format, and the second.then()logs the fetched data to the console. - We use
.catch()to handle any errors that occur during the fetch operation.
Example 2: Handling errors
In this example, we’ll intentionally provide an invalid URL to demonstrate error handling.
const invalidUrl = 'https://jsonplaceholder.typicode.com/posts/invalid';

fetch(invalidUrl)
    .then(response => {
        if (!response.ok) {
            throw new Error('Failed to fetch data');
        }
        return response.json();
    })
    .then(data => {
        console.log('Fetched data:', data);
    })
    .catch(error => {
        console.error('Error fetching data:', error);
    });
Explanation:
- We provide an invalid URL to the
fetch()function to simulate an error. - Inside the first
.then()block, we check if the response is ok. If not, we throw an error. - The
.catch()block catches the error and logs it to the console.
Browser APIs
Web browsers provide additional APIs that allow JavaScript to interact with the browser environment, such as manipulating the DOM, handling events, and accessing device features.
Example 3: DOM Manipulation
The Document Object Model (DOM) API allows us to manipulate the structure and content of HTML documents.
// Select the <body> element
const body = document.body;

// Create a new <p> element
const paragraph = document.createElement('p');

// Set the text content of the paragraph
paragraph.textContent = 'Hello, World!';

// Append the paragraph to the body
body.appendChild(paragraph);
Explanation:
- We select the
<body>element usingdocument.body. - We create a new
<p>element usingdocument.createElement('p'). - We set the text content of the paragraph using
paragraph.textContent. - Finally, we append the paragraph to the body using
body.appendChild(paragraph).
Conclusion
In this tutorial, we covered the basics of working with Web APIs using JavaScript. We explored the Fetch API for making network requests and Browser APIs for interacting with the browser environment. This is just the beginning of what you can do with JavaScript and Web APIs. Experiment with different APIs and explore the possibilities!


